  |
|
Setting up Microsoft NetMeeting When you run NetMeeting for the first time, you will need to do a quick setup before you can use it to make video calls.
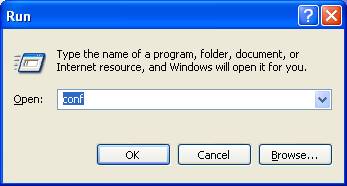
To start NetMeeting, click on the Start button on the bottom left corner of Windows and select Run. Type in conf and click OK.
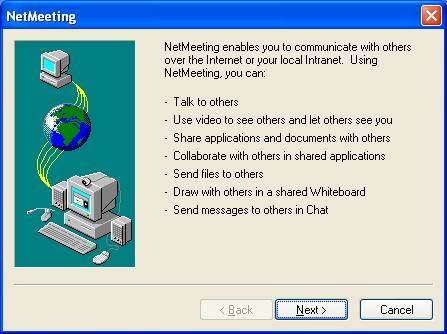
Click Next to continue.
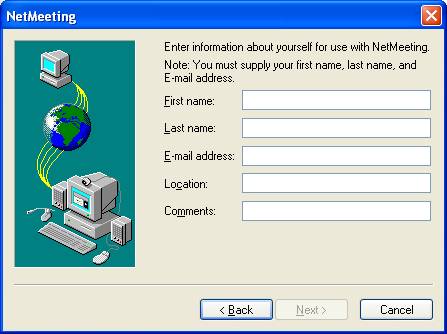
On its first run, you will be prompted to enter your information in “My directory information” box. After entering your information, click Next to continue.
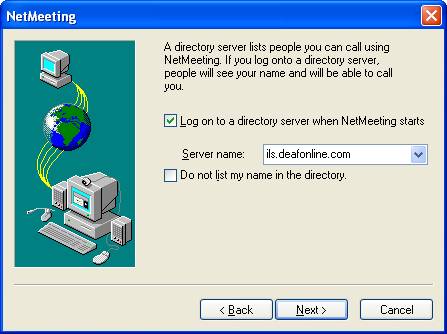
Type ils.deafonline.com in the Server name: box and check Log on to a directory server when NetMeeting starts box. Click Next to continue.
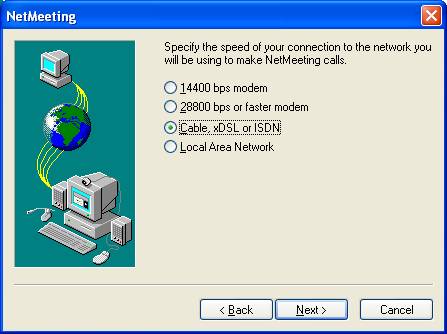
Select Cable, xDSL or ISDN option. If you are at a workplace that uses T1 or higher internet access, select Local Area Network. Click Next to continue.
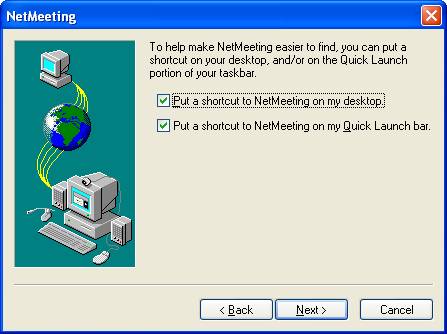
Click Next to continue.
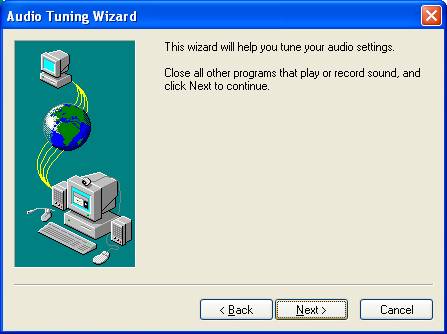
Click Next to continue.
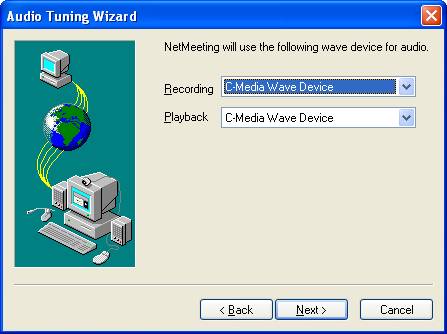
Select the appropriate wave device. Click Next to continue.
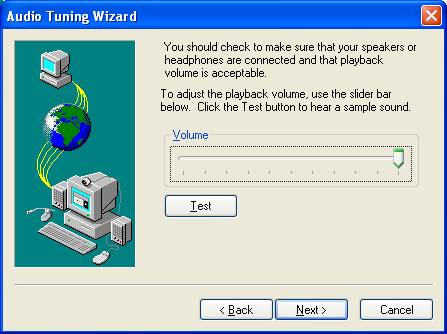
Turn on your speakers and click on Test to see if sound is coming out of the speakers. If there is no sound, click on Back to go to the previous screen and select a different Playback wave device. If there is sound, click Next to continue. (If you do not plan on using speakers or do not have one, just click Next to continue.)
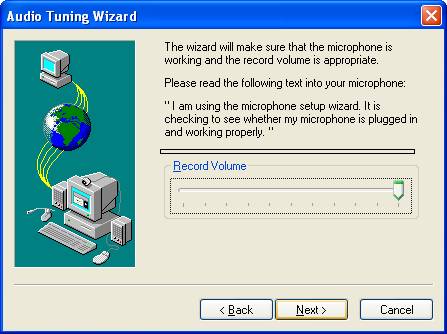
Speak the above phrase into your microphone. If you cannot speak, just use your finger and tap on the microphone. You should see the color changes in the bar. If you do not see the color changes, click on Back twice and select a different Recording wave device. If you see the color changes in the bar, click Next to continue. (If you do not plan on using the microphone or do not have one, just click Next to continue. If the next dialog box says your microphone is not plugged in, click on Next again.)
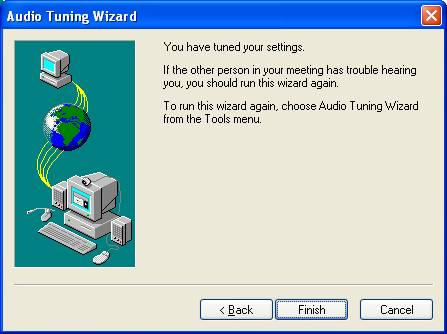
Click Finish to start NetMeeting. When you run NetMeeting the next time, you will not see the dialog boxes shown above.
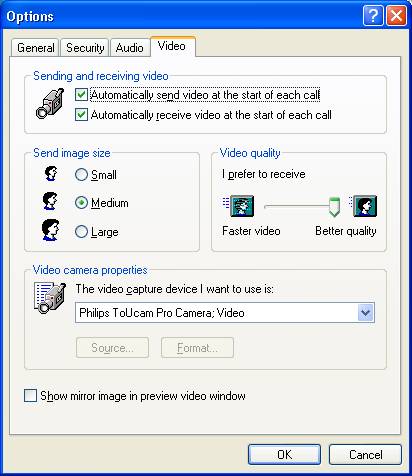
Once you start NetMeeting, there is one more step that you need to do before you can make a video call. Click on Tools from the menu bar and select Options. Then press the Video tab to get this window:
Check both boxes for Automatically send/receive video at the start of each call. It is best to keep the Send Image Size at its medium setting. Selecting "large" will decrease the quality of your video on the other end and make it harder for the other party to see you. Drag the bar to Better quality in the Video quality box. You should see your video camera’s name in the Video camera properties box. If you do not, change it to display your video camera’s name. Click OK to close the dialog box.
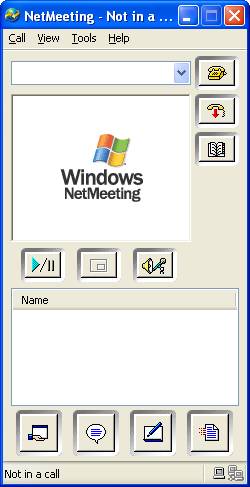
Now it is time to test your video. Click on blue play button and you will see yourself in the video box. (If you do not, click Tools from the menu bar and select Options. Then press the Video tab and make sure you select the right camera in the Video camera properties: the video capture device I want to use is: box.)
That’s it! You are ready to make a video call
|
|
Optimized for a width of 800 - This page last updated:
July 12, 2018
© Copyright 2007 by the Technology Access Program - All Rights Reserved |
